Having a mini split HVAC system is such a plus for your home. It makes it easy for your home to achieve zoned heating and air conditioning for the best living conditions. These systems are user-friendly and highly efficient. And they increase convenience and comfort while slashing your home’s energy bills in the long run.
As such, it is vital to learn about troubleshooting mini split HVAC systems in the event of a problem.
Troubleshooting helps you to maintain your system more effectively as you can easily identify the source of the problems when they arise. It also notifies or alerts you when you need to reach out for professional assistance.
The following are the steps to follow when troubleshooting mini split systems.
1. Examine the Outdoor Unit
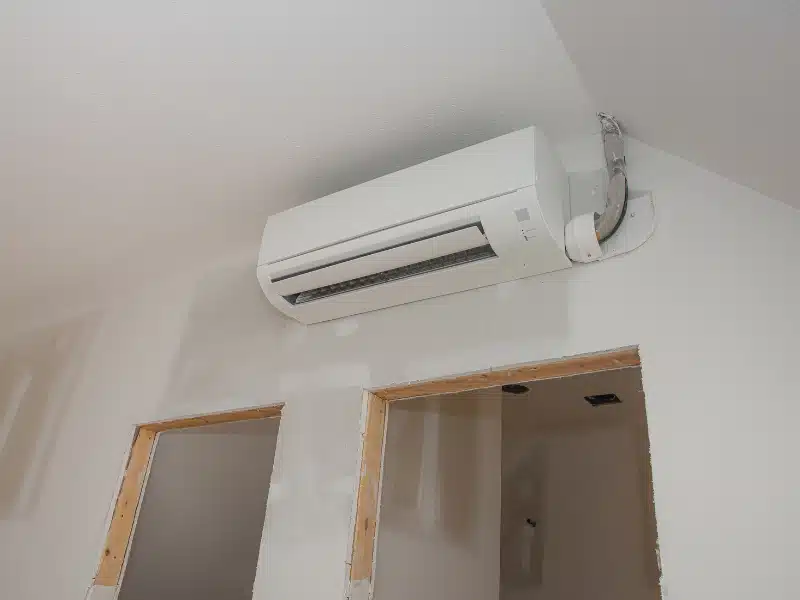
The mini split HVAC system comes in two parts – an indoor air handler and an outdoor unit. And if you have trouble with your mini split, examine the current state of your outdoor unit first. More often than not, debris and dirt accumulation causes damage.
The buildup affects its ability to cool or heat the air. Also, this could result in coolant leaks, damaged parts, or poor airflow.
Ice accumulation on your outdoor unit is an indication of more problems. For this reason, reach out to an HVAC technician who will provide the cleaning and servicing that’s required to get rid of the ice buildup.
2. Inspect your Home’s Power
If your mini split unit is still acting up, the problem could be your electrical system. Examine your circuit breaker to ensure that it is not tripped. Afterward, scrutinize the unit’s plug and cords and also look out for any damages.
If there is a problem with your remote, get new batteries and try applying the reset button. Better still, activate your unit manually through the control panel. If this doesn’t sort the issue, you can reach out for professional help. Handling electrical faults should strictly be handled by an expert since the repercussions can be fatal.
3. Clean the Drain Line
You may be wondering, “why is my mini split leaking water?”.
The problem could be in the drain line. The drain line is also known as a condensate line, and it is tasked with controlling excess condensation from your AC. If the condensate line isn’t draining well, the accumulated water might back up the system, causing serious problems, including a system shutdown.
If you notice water draining from your indoor unit (air handler), it’s almost certain that the drain line is to blame. And according to HVAC experts, using vinegar when cleaning the drain line can help to clear any buildup causing the line not to dispose of the condensate properly. Do this at least thrice a year.
If the system can not drain the condensate at all, or there are water leaks from the interior air handler, look for an HVAC technician. There might be serious damage on the drain line that can cause water damage to your house if not addressed appropriately.
4. Dirty Vents or Filters
Dust and dirt are drawn into your mini split system every time it siphons air in for cooling purposes. Over time, this dirt can accumulate and clog the filters or vents, restricting airflow and making the system work harder to achieve results. As a result, your energy bills will go up, and your unit will have a shorter lifespan.
You should check and clean your filters or vents at least once a month to prevent this problem. But if you have pets or live in a dusty area, you may need to do it more often. Luckily, most HVAC systems will alert you when filters need changing.
Here are some signs that you need to change the air filters and clean the vents:
- The air coming from the vents smells bad
- The airflow from the vents is weak
- Strange noises coming from the mini split system
- The energy bills are higher than usual
Dirty filters and vents can also lead to increased respiratory issues in the household, such as elevated asthma attacks or allergies
5. Refrigerant Leaks
The mini split unit cools your house through the action of a refrigerant. The refrigerant revolves between the indoor and outdoor systems through cables that operate via the small openings in your house. It changes from gas to liquid and vice versa, allowing it to absorb heat from your indoor space and dispose of it outdoors. Or absorbing heat from the outdoors to heat the indoor space.
Refrigerant leaks might occur when these cables become affected by pests or worn out by weathering. So, if your mini split keeps turning on and off and does not blow cool air, the problem could be a refrigerant leak.
Repairing refrigerant leaks can be an expensive and time consuming affair. At the same time, if it is not fixed immediately, it can cause further damage to the compressor motor, which is even more expensive. As such, mini split troubleshooting is necessary to avoid such.
Building up ice and hissing or bubbling noises are some of the signs of a leaking refrigerant. Contact your technician if you notice any of these signs. A leaking refrigerant is a threat to your safety and health.
6. Check for Power Supply Trouble
The mini split systems apply a wall-based power supply. And if your system does not go on, you should examine the power supply. Ensure that the power cord is plugged in properly. Also, check out the power circuit to ensure that it is not tripped.
Check the plug and cord for wear and tear, as it can also affect the transfer of power, which poses a safety hazard for you and your family. If the power supply is excellent, examine the batteries in your remote, they may have expired.
7. Evaporator Coils
You may be wondering why the mini split is not blowing hot air. The issue could be with evaporator coils. For instance, if they are frozen, then it is a cause for alarm.
The evaporator coils are tasked with extracting heat from the air in your home. If they are frozen, it means that the mini split heat is not working correctly, and this will prevent hot air from being circulated.
One way to thaw the coils is to turn off the mini split and let them thaw naturally. However, you should never use any sharp objects to speed up the process, as this could damage the coils.
Another way to unfreeze the coils is to use a hair dryer. Hold the dryer around six inches away from the coils and move it around frequently so that you don’t overheat any one area.
Keep in mind that while troubleshooting mini split systems can be a DIY affair, it’s advisable to consider the services of an HVAC expert. This helps to ensure that the unit is well-checked and all issues identified.