TL;DR: How to Replace Capacitor on AC UnitPower off the system, safely discharge the old capacitor, match µF and voltage specs for the new one, reconnect wiring, and test the unit. If your AC still acts up, other issues may exist. |
If you’re wondering how to replace capacitor on AC unit, you’re likely facing a common yet critical electrical issue that can stop your air conditioner from starting or cause it to run inefficiently.
A failing capacitor might be the silent culprit behind humming motors, frequent breaker trips, or warm air blowing out of your vents.
The main purpose of a capacitor is to start the fan and compressor of your AC unit. A defective one does not do this well. This means that such a seemingly small component can cause your AC to malfunction, giving you a hard time with the unforgiving summer heat.
Even thinking of a non-functional AC during the hot season is itself distressing. Therefore, if a capacitor is faulty, it certainly needs instant replacement.
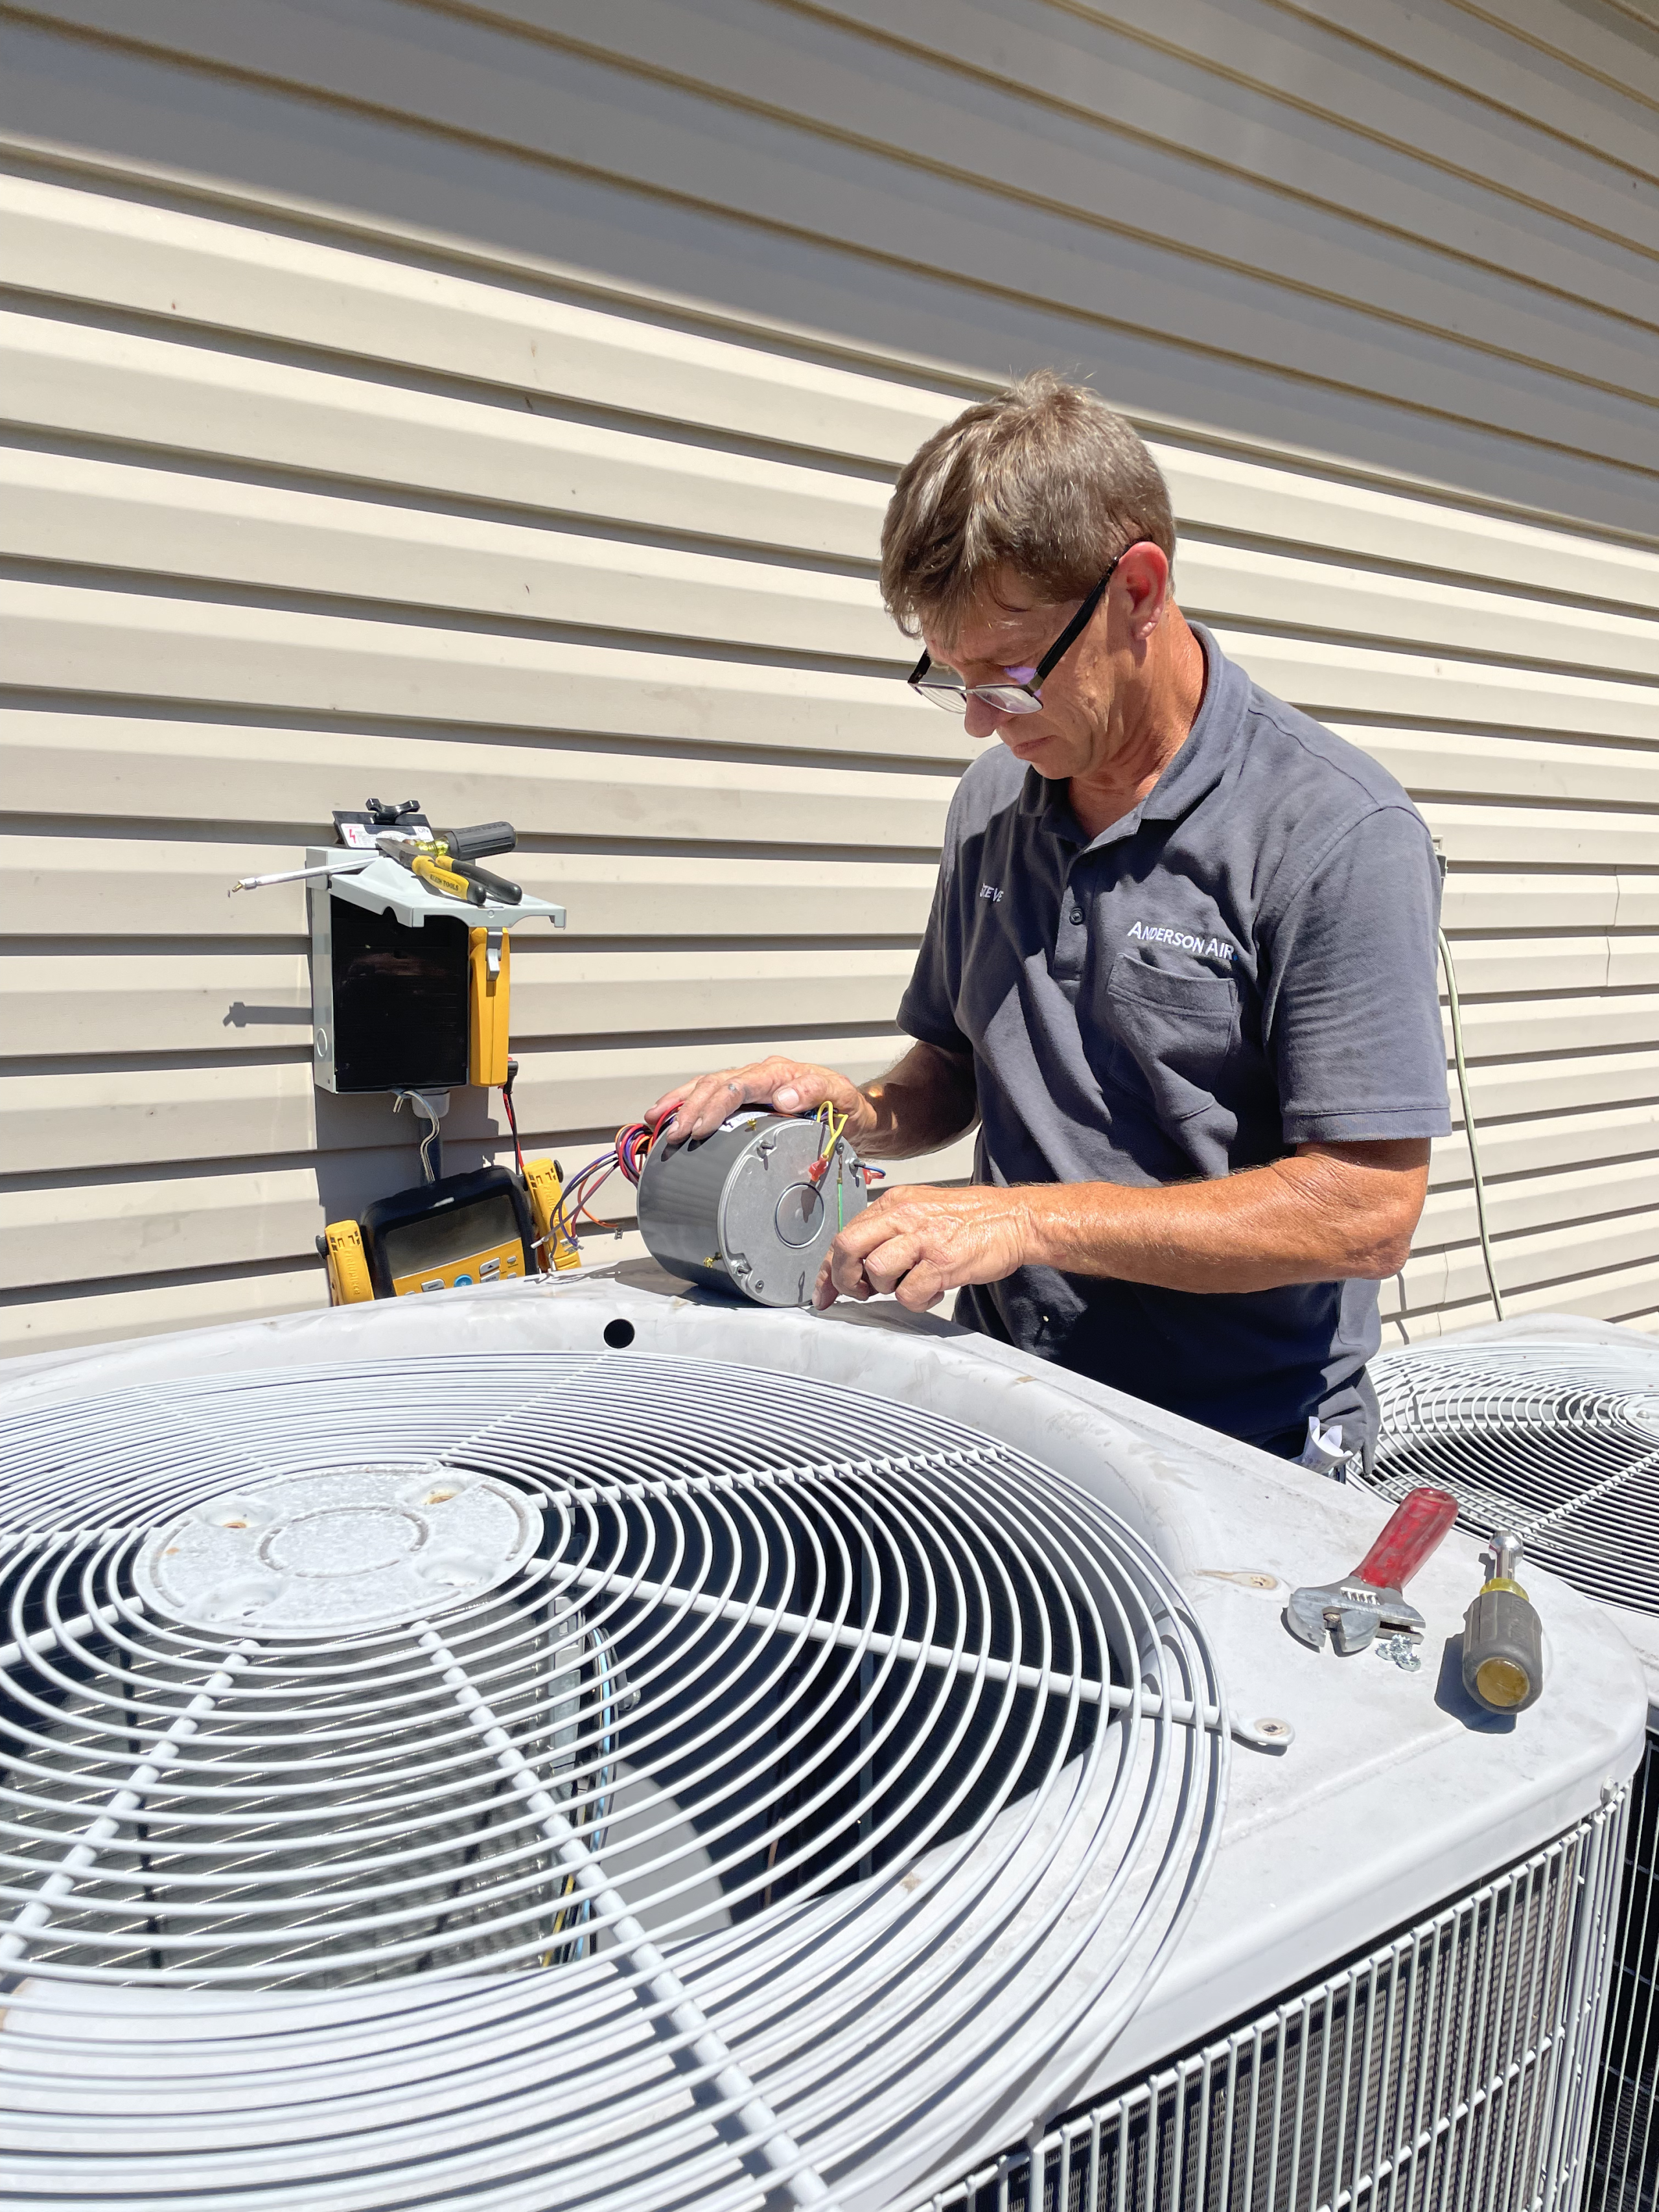
Generally, calling an HVAC technician is the ideal solution. This way, they can conduct a thorough inspection of your AC and determine whether the capacitor is the only problem.
However, if you wish to have a DIY replacement, it’s also quite possible – as long as you know what goes where on that system.
So, how do you replace a capacitor on an AC unit on your own?
Well, first things first…
What is an AC Capacitor?
A capacitor is a small component in your AC that stores electrical energy. Its main function is to send this energy to the AC motor, which powers your AC system, in return.
This means that without the capacitor, your cooling system won’t be able to start or run. It could mean the most uncomfortable summer days for you.
Luckily, learning how to replace a capacitor on an AC unit isn’t an uphill task at all. And we are just about to make things even easier.
If you already have the necessary tools, here are the major steps that you should follow.
How to Replace the AC Capacitor: Step-by-Step Guide
Observe the following simple steps to replace your capacitor in the event of failure or power surges:
1. Switch off the power
This goes without saying. The first thing to do before you replace the capacitor on an AC unit is to ensure that the system is turned off. In most cases, you will find a local circuit breaker or block fuse in a box outside the AC unit for this purpose.
To turn off the power, ensure that you shut down the circuit breaker or disengage the block fuse. However, some AC systems do not have outside shut-off boxes. Therefore, you will shut down the power by turning off the circuit breaker that controls the AC.
Also, turn off the thermostat inside your house. It will block tiny pulses of low-voltage current from reaching the capacitor as you are operating.
In a nutshell, DO NOT forget to switch off the power of the AC unit. Also, ensure that you avoid any moisture when switching off to prevent shocks.
2. Open the AC’s Access Panel
After you are certain that the power is off, you can proceed to the next step: opening the access panel. The panel is usually found on the upper corner of the AC casing.
Remove the mounting screw to open the access panel. Ensure that the screws and the cover are stored in a safe place when working.
Be careful as you remove the mounting screws to avoid any injuries.
3. Purchase a New Capacitor
This is the most crucial step. Before purchasing a new capacitor, you need to locate the current one inside the panel. It is usually a small cylindrical component, most often with a sticker on its side. Take note of all the information in the sticker, including its tolerance, capacitance, and load voltage.
Ensure that you purchase a capacitor with those exact specifications. The new one may be in a different shape, but that is not a big deal. What matters is that it will fit in the existing space. You can purchase a new capacitor at your local HVAC or home building store, or online.
The best place to purchase your capacitor would be in a physical shop. This way, you will be able to physically see the different brands and their prices. You will also be able to ask any questions that you may have about the capacitor.
To ensure you purchase the right capacitor, get the same model number from the same manufacturer.
4. Detach the Capacitor and Name the Wires
The next step for how to replace the AC capacitor is discharging it and labeling the wires. It is shocking to find out that the capacitor may be holding electricity even with the power switched off. You must discharge this current to be able to operate on it safely.
Grab the blade of an insulated screwdriver to discharge the capacitor. This will ensure that there is no electricity left inside the capacitor. The next thing is to examine the old capacitor. Take note of where the three wires (compressor, common, and fan) are attached.
The old capacitor should have tags that show where each wire proceeds. “Herm” for compressor, “Fan” for fan, and “C” for common.
5. Insert a New Capacitor
This is very easy to do. Just ensure that the new capacitor is positioned in the same place as the old one. To secure it perfectly, use a mounting strap. The spade wire connectors should be in line with the right post on the new capacitor.
The connections should also be right; compressor wire to “Herm,” common wire to “C,” and fan wire to “Fan” posts. The capacitor will not function if there are wrong connections, so ensure this is done right.
6. Switch on the Power and Test
At this point, you must be very eager to know whether the new capacitor is working. To switch on the AC unit, you will have to reinsert the block fuse or power on the circuit breaker. Ensure that the thermostat is turned on too.
Put the temperatures at low settings to ensure that the AC is switched on. If it fails to function, the problem could be with the wire leads on the capacitor. Verify whether they have been attached correctly.
Once again, switch off the power, release the capacitor and recheck the wire connections. Once you are satisfied that the AC unit is functioning properly, restore the access cover.
These are the six steps on how to replace an AC capacitor. If you follow them, your AC system will be up and running within no time. But DIY is not for everyone, especially when it comes to HVAC. If you prefer to hire an expert, get in touch with a professional HVAC technician to get the job done.