TL;DR: How to Test a Home ThermostatTo test a home thermostat: switch it to OFF, set it to HEAT or COOL, use a multimeter or check wiring/battery issues, and observe how it responds. If it doesn’t trigger your HVAC system properly, replacement or pro diagnosis is needed. |
If you’re wondering how to test a home thermostat, you’re probably dealing with heating or cooling issues that don’t seem to match what your HVAC system is doing. Many homeowners immediately assume the furnace or AC is failing—but in reality, the thermostat is often the real problem.
A thermostat that sends incorrect signals, reads the wrong temperature, or stops communicating with the system entirely can cause uneven heating, short cycling, or an AC that won’t cool. Understanding how your thermostat functions throughout the year makes it easier to catch issues early.
Having a thermostat malfunctioning is frustrating. Imagine coming back from a long summer workday, only to find that your AC system is not cooling down your house. Now, this can be very uncomfortable.
Luckily, testing your AC thermostat and pointing out the problem is very easy. But before we get onto how to test a home thermostat, let’s first discuss how you can identify a failed thermostat.
Symptoms of a Faulty Thermostat
If you suspect that your thermostat is faulty, here are some signs you should look for.
- Thermostat Lacks Power
When your thermostat has no power, the AC and furnace do not respond to your commands. The display is also not lit.
If you change your batteries and the power is still not restored, then there is a fault with your thermostat.
- Your AC or Furnace does not Turn On
Can a malfunctioning thermostat cause an AC or furnace to not power up? Yes, it can.
There could be a wiring issue blocking the signals. The thermostat uses wires to communicate to your heating or cooling systems.
A problem with these wires will affect the communication to the furnace or AC unit.
- Your AC or Furnace does not Turn Off
If an AC or furnace refuses to turn off, then there is a problem with your home thermostat. It simply means that the wiring is poorly done or your thermostat is not calibrated properly.
- Different Thermostat Settings and Room Temperature
If the thermostat’s reading and the estimation of the room temperature are different, then there is a problem with it.
It is at this point that you need to ascertain whether your thermostat is working or not.
How to Test a Home Thermostat: Best Steps
If you want to learn how to test an AC thermostat to ascertain whether it’s the cause of your system’s failure, follow these easy steps:
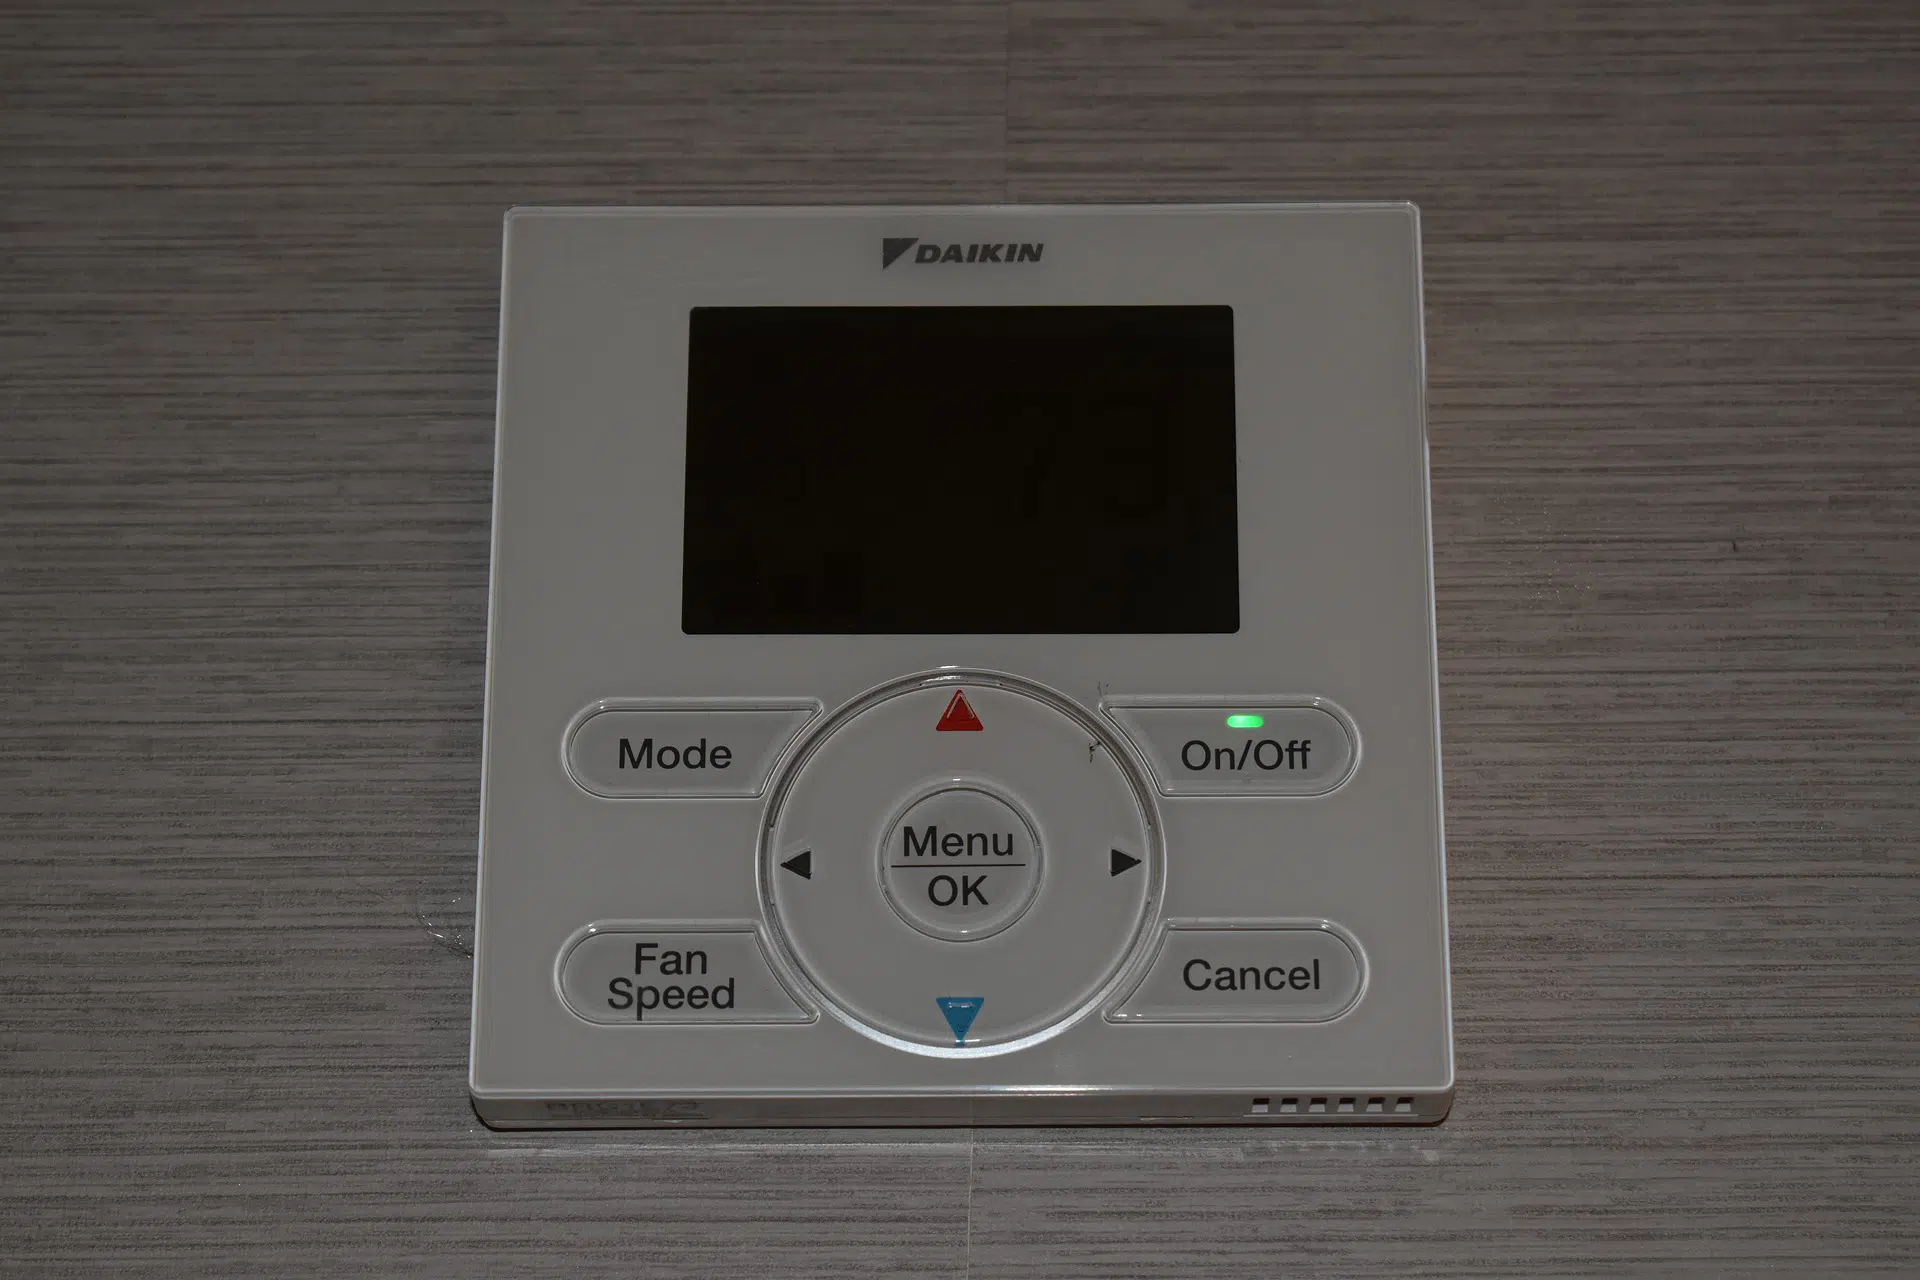
- Ensure that your Thermostat is in “ON” Position
This sounds obvious, but the first sure thing to do when testing a thermostat is to check if it’s switched on.
Also, ensure that it is set in the proper setting. Check that your cooling or heating setting is chosen.
- Examine the Program Settings
Some thermostats enable you to reverse the programs. Make sure that you do not alter the settings accidentally.
If you change the settings, you will be interrupting the thermostat’s normal operation.
- Inspect the Battery
This should be the second thing to consider when your HVAC system fails. Although many thermostats installed today are programmed to indicate when the battery is low, many of us fail to pay attention to our thermostat’s screen.
To replace the batteries on your AC thermostat, all you need is a flat-tipped screwdriver and new batteries. Check the manual of your thermostat to know exactly the type of batteries your AC thermostat requires.
Pull off the thermostat mounted on the wall; this is done by sliding the thermostat upwards to remove it from the mounting plate screwed on the wall. Open the casing of the thermostat and remove the old batteries.
Slide in the new batteries, and you are good to go.
- Checking for Broken Wires
The first action to take here is to ensure you have switched off the circuit breaker to the HVAC system for safety precautions. Gently remove the thermostat cover to expose the wires of the circuit.
Since you might not identify broken wires by just looking at them, you will need a multimeter to test the continuity of the wires. Tune the multimeter to test the resistance value. Connect the red wire of the multimeter to the red wire of the thermostat and the black wire of the multimeter to the black or white wire from the thermostat.
A functioning thermostat should have readings close to zero or zero. If not, there is a problem with the thermostat.
- Tightening Loose Terminals
Loose screws and terminals can greatly affect how a gadget works. Even worse, it can make a circuit short and completely damage the gadget. A thermostat’s internal parts can become loose with time, and it can lead to your thermostat not working.
After you are through checking the wires, also check to ensure that all screws and terminals are tightly fixed.
- Switch on the Breaker
Switching the breaker back on should be the next step.
Please ensure that your thermostat is operating properly after switching the breaker on. If the thermostat appears faulty or doesn’t go back on, retest it by switching the breaker on and off.
It may take a few minutes to achieve this, so be patient.
- Check out the Wires Again
Ensure that the breaker is turned off when doing so. The green and red wires should be the ones to turn the AC on. The white ones should handle the furnace.
Make sure each wire is in the correct place.
- Wrap the Wires Together
Detach either the AC or furnace wires from their respective ports and wrap them together. After doing that, turn the breaker on once more.
If, by doing so, the AC or the heater starts running, then this is a clear sign that your thermostat is faulty.
If neither turns on after following the steps regarding how to test a home thermostat, your thermostat might not be the problem.
In this case, you might need to reconsider why your HVAC system is not working properly and might need to seek assistance from a professional.