Replacing a fan motor in your HVAC (heating, ventilation, and air conditioning) system can vary in difficulty depending on your level of experience and comfort with DIY (do-it-yourself) projects, and the specific make and model of your condenser.
It can be a complex task that requires careful attention to detail, appropriate safety equipment, and the proper tools. We’ve outlined expert tips on how to replace the fan motor in an HVAC condenser. Depending on your experience, this may be a complex task so don’t hesitate to call a professional.
Safety first
Before you start any kind of repair or maintenance work on your HVAC condenser, it is crucial to ensure that the power supply to the unit is turned off at the circuit breaker or the disconnect switch.
In addition, make sure you have the appropriate safety gear, such as gloves, goggles, and protective clothing.
Gather the necessary tools
You’ll need a reasonable range of standard hand tools, such as wrenches, screwdrivers, pliers, and a multimeter for troubleshooting.
Before you settle down to replace the fan motor in your HVAC condenser, do yourself a favor and check the size and shape of the screw heads. There are few things worse than getting into the repair and having to go and buy another tool!
In addition to the basic, everyday tools, you may need a puller or manufacturer-specific tools to remove the fan blade and motor.
Pro tip: bring a small tray or dish outside with you to have a clean and dry spot to store your screws during the HVAC condenser fan motor replacement process. Many people forget to do this when repairing or installing an appliance and end up hunting through grass, dirt, and gravel in search of a missing screw!
Take photos and notes
Before you begin disassembling the condenser, take photos or make notes of the wiring connections and the orientation of the fan blade.
It may feel like an unnecessary chore, especially if you need to put down your tools to take photos from various angles, but these photos and notes will be invaluable when it comes to reassembly. Even professional technicians use this tip to help them!
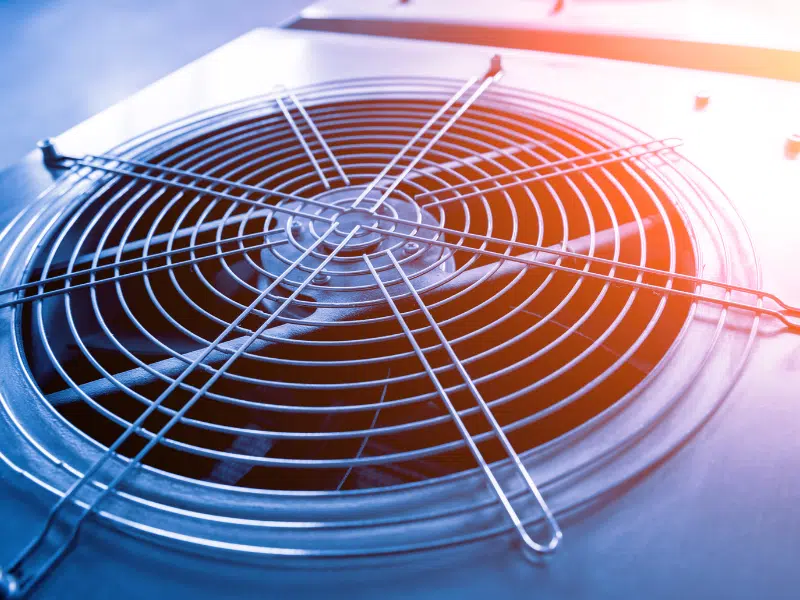
Locate your fan motor
When replacing a fan motor in your HVAC condenser, you will first need to locate it.
The HVAC condenser fan motor is typically located inside the condenser unit, which is the outdoor part of your air conditioning system. If you’re not sure, refer to your owner’s manual.
Once you have located it, you will have to remove the condenser’s protective grille, fan blade, and other components to access the fan motor itself.
Disconnect the HVAC condenser fan motor
Once you have located your HVAC condenser fan motor, carefully disconnect the wiring connections to the motor, noting their locations. Take pictures or label the wires as you go – don’t rely on memory alone!
Remove any mounting brackets or hardware securing the motor to the condenser and place them to one side in a clean, dry, easy-to-access spot.
Remove the fan blade
Once you have clear access to your fan motor, you will discover that the fan blade is likely secured with a set screw or a nut. Use the appropriate tool to remove it, and carefully slide the blade off the motor shaft.
If the blade is stuck, you may need a puller or some oil to loosen it.
Install the new motor
Once you have removed the old fan blade motor, it is time to install the new one using the appropriate mounting brackets or hardware.
To replace the fan motor in the HVAC condenser, carefully connect the wiring according to the manufacturer’s instructions, or use your notes/photos from earlier.
Reinstall the fan blade
Slide the fan blade you removed earlier back onto the motor shaft and secure it with the set screw or nut. Take your time and make sure the fan blade is properly aligned and balanced. This step is crucial for ensuring optimal performance and preventing damage.
- Use a soft brush or a cloth to clean the fan blade from any dirt, debris, or buildup. This will ensure that the fan blade is free from any obstructions that may affect its balance.
- Look at the fan blade from the top and the sides to check its alignment. The fan blade should be positioned evenly and straight, with no wobbling or tilting. You may need to adjust the fan blade to bring it into proper alignment if you notice any misalignment.
- Proper balance is crucial for the fan blade’s performance and longevity. To balance the fan blade, you can use a balancing kit, which typically consists of weights that can be attached to the fan blade.
Follow the manufacturer’s instructions to install the balancing weights at the appropriate positions on the fan blade to achieve proper balance.
- Check all the connections, including the blade mounting nut or bolt, and ensure that they are tightened correctly. Loose connections can cause vibrations and affect the fan blade’s balance.
Test the motor
Once everything is reassembled, turn on the power to the condenser and test the fan motor to ensure it’s running smoothly. Use a multimeter to check for proper voltage and current readings.
At this stage, you can also ensure that the fan blade is operating smoothly without any wobbling or unusual noises. If you notice any issues, double-check the alignment and balance and make adjustments as needed.
Double-check connections
Before replacing the air conditioner fan motor grille, double-check all of the wiring connections against the instructions or your photos/notes. Ensure they are secure and properly tightened.
Clean and inspect
When you replace your AC condenser fan motor, it’s a good idea to take the opportunity to clean the condenser coils, remove any debris either inside or around your condenser, and ensure the unit is properly maintained for optimal performance.
Need an HVAC fan motor replacement? Give Anderson Air a call
If you’re unfamiliar with HVAC systems or uncomfortable with any part of the process, it’s always best to consult a qualified HVAC technician for assistance. Our friendly, professional team here at Anderson Air is always happy to help.